6 Easy Steps to Master Crispy Air Frying for Beginners
If you make any purchases through the links on this site, please know that as an Amazon Associate I earn from qualifying purchases. This costs you nothing extra.
Get free email updates with every new post or recipe! Sign up here.
Crispy Magic, Minimal Fuss
Learn simple, reliable air-frying basics that turn soggy or greasy results into golden, satisfying crunch. This guide shows six easy steps—settings, prep, oil, coatings, loading, timing, and finishing—so you feel confident and enjoy crispy home-cooked meals every time, with ease.
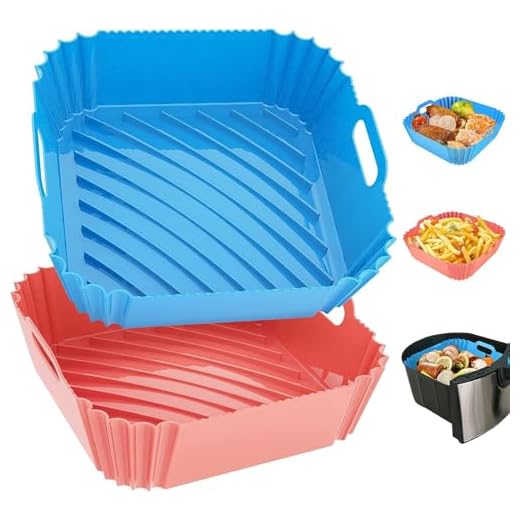
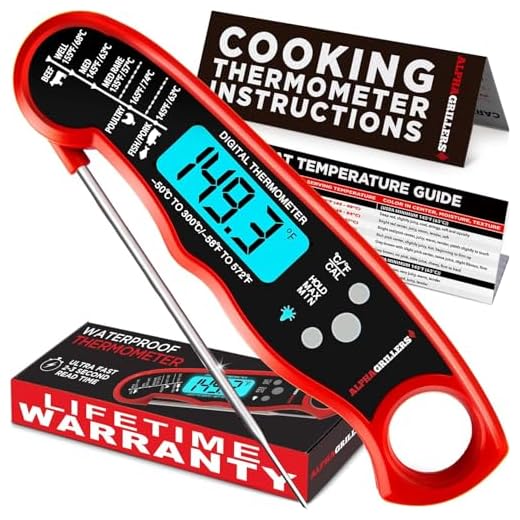
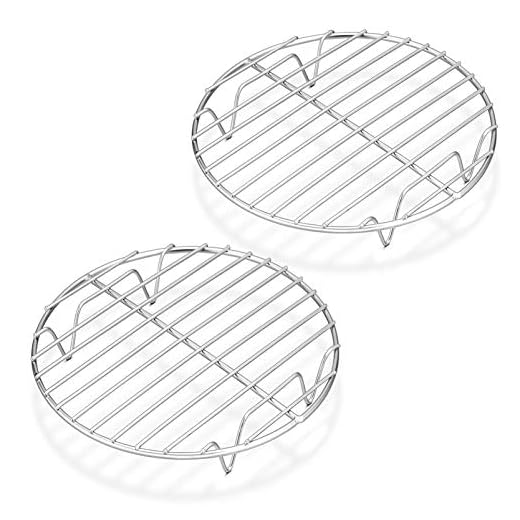
What You’ll Need

Know Your Air Fryer: Settings, Size, and Limits
Think of it as a tiny convection oven—what makes yours tick (and how to use it like a pro)?Read the manual and note your model’s capacity, preset functions, and any recommended temperatures or max fill levels. Test how it performs: toast a slice or use an internal oven thermometer to check actual temperature vs. the dial.
Time a quick preheat so you know how long it takes to reach cooking temp. Observe whether it runs hot or cool and how fast it browns coatings.
Check these essentials before cooking:
Understanding these limits prevents overcrowding, uneven cooking, and burned coatings.

Prep Ingredients Right: Dry, Cut, and Season
Want extra crunch? Drying and cutting are the small moves that make a big, crispy difference.Pat proteins and vegetables thoroughly dry with paper towels—moisture steams foods and prevents crisping. For example, blot chicken thighs until skin feels tacky, then toss with a little cornstarch for extra crunch.
Cut foods into uniform pieces so they cook evenly; make fries about 1/4″ thick and slice breasts into even cutlets—thinner pieces crisp faster.
Thaw frozen items and pat dry, or add 3–6 minutes to cook time and give a light spray of oil if cooking from frozen.
Season early for depth, but salt delicate coatings just before breading. For breaded foods, follow a three-step dredge:

Use Oil and Coatings Strategically
A little oil goes a long way—why a light mist beats drowning your food in grease every time.Apply a thin film of oil to promote browning and heat transfer—air fryers rely on hot air, not deep oil. Use high-smoke-point oils like avocado, light olive, or canola. Mist, brush, or toss pieces in oil—use about 1–2 teaspoons per pound; never pour oil directly.
Use coatings to build crunch and prevent sogginess. For breaded items, mix a little oil into the crumbs or spray once halfway through cooking to finish crisping. Try panko or crushed cornflakes for extra texture, or coat with an egg + cornstarch slurry for a golden shell.
For vegetables, a light oiling plus seasoning is usually enough; avoid heavy batters unless formulated for air fryers.

Load the Basket Properly: Single Layer Wins
Overcrowd and you’ll steam; spread out and you’ll shine—serious results from a simple layout trick.Arrange food in a single layer with space between pieces to allow hot air circulation. If you have a crowd, cook in batches—two perfect batches beat one soggy pile.
Shake small items midway to redistribute heat and flip where possible. Use racks only when they don’t cause stacking; stacked food steams, it won’t crisp. Place a liner or tray under heavy or wet coatings to protect the element and catch drips. Proper loading is the single easiest control over final texture.
Master Temperature and Timing: Learn the Hot Spots
Want foolproof crisp? Temp control and a watchful eye beat guesswork—here’s how to outsmart hotspots and timing traps.Start with manufacturer-recommended temps but adjust based on your tests. Common ranges work well, and a few simple rules cut trial-and-error time.
Keep notes of times and outcomes for favorite recipes.
Finish, Rest, Serve, and Clean Like a Pro
Tiny finishing moves make dishes sing—resting, sauces, and a quick clean-up are the unsung heroes of repeatable crunch.Rest cooked proteins briefly to redistribute juices — 3–5 minutes keeps chicken, fish, or pork juicy while the exterior stays crisp. For example, let a chicken breast sit uncovered on a cutting board for 4 minutes.
Toss finished items in a light seasoning or a splash of vinegar-based sauce to add brightness without sogginess. Try a drizzle of rice-vinegar hot sauce on wings or a sprinkle of flaky salt on fries.
Keep earlier batches warm on a wire rack in a low oven (about 200°F / 95°C) so they stay crisp when serving a table.
Allow the air fryer to cool slightly, then clean the basket and tray to remove residue that causes smoke and off-flavors. Periodically wipe the heating element and door seals.
Troubleshoot common issues:
Start Crisping with Confidence
With these six steps—know your machine, prep well, use oil smartly, load right, control temperature, and finish properly—you’ll get reliable crispy results; practice, note times, tweak for taste, then try a recipe and share your results today with friends too.

Question: for coatings, is panko better than regular breadcrumbs? Also any vegan-friendly swaps that still get crispy?
Aquafaba works great as a binder for vegan coatings if you need to stick crumbs on.
Panko usually gives a lighter, crispier texture because it’s flakier. For vegan swaps: try crushed cornflakes, chickpea flour batter, or a mix of panko and nutritional yeast. Spritz oil lightly so the coating browns.
Panko is my go-to. Regular breadcrumbs can get soggy quicker, IME.
I use crushed pretzels for veggie nuggets — super crunchy and no eggs.
Loved the “Finish, Rest, Serve” section. One thing I always do: give fries 1–2 minutes on a higher temp at the end (if my fryer allows) to get that last bit of crisp. Works wonders for frozen fries vs fresh.
Are there foods that shouldn’t get that final blast?
Great tip. Avoid that final high blast for delicate items (thin fish, leafy veg) or anything already beautifully browned — it can dry them out or burn the coating.
Good to know — I accidentally over-crisped my fish once. Sad day.
Quick troubleshooting: if your basket is crowded, is shaking every 5 minutes okay or should you do fewer interruptions? Also, do perforated parchment liners block crisping?
Shaking every 5–8 minutes is fine for small items like fries; for larger pieces, flip once mid-cook. Perforated parchment is fine and helps with cleanup, but avoid fully covering the basket—airflow is essential for crisping.
I’ve used perforated liners and still got good crisp. Just don’t use paper that covers the whole bottom.
I spray oil with a mister and it evenly browns coatings. Question: any opinions on aerosol cooking sprays? I stopped using them because I heard they damage nonstick surfaces.
Avoid aerosol sprays that contain propellants — they can leave a sticky residue over time. Use refillable misters or brushed-on oil instead.
I use avocado oil in a mister. High smoke point + no residue so far.
Agree — refillable mister for the win. Olive oil in aerosol = ew on my basket after a few months.
If you do use sprays, spray onto the food, not the basket. Less buildup that way.
Nice checklist — the cleaning section was underrated. Forgot to say: remove and wash the tray right away, and wipe the heating element after it cools. Keeps performance consistent.
Definitely — regular cleaning prevents smoke and maintains airflow. A quick soak helps with stuck-on bits.
Good overview, but the timing chart felt vague. My 3.5L air fryer cooks WAY hotter in the back. Learned the hard way that temps are not universal. Maybe add a note to test with an oven thermometer or do trial runs?
Yep — my ancient model is basically a dragon in the back. I always lower temp by 10–15°F and add a minute or two.
Great point, Marcus. Different models have hot spots — we recommend testing with an oven thermometer and rotating the basket mid-cook. We’ll add that clarification.
Tried this last weekend — short summary:
– I overdid the oil the first time and learned to go light.
– Air fryers do NOT like wet batters (duh) unless you pre-freeze coated items.
– My favorite hack: toss veggies in a tiny bit of miso paste + oil then air fry — caramelizes nicely.
Fun, fiddly, and addictive. Will experiment more. typos incoming, but this worked!
Pre-freezing works especially well for breaded shrimp. Saves the coating from sliding off.
Miso on veggies? Never tried that. Adding to weekend plan.
Miso glaze is brilliant — thanks for sharing! Pre-freezing wet-battered items is a helpful technique for getting the coating to set before air frying.